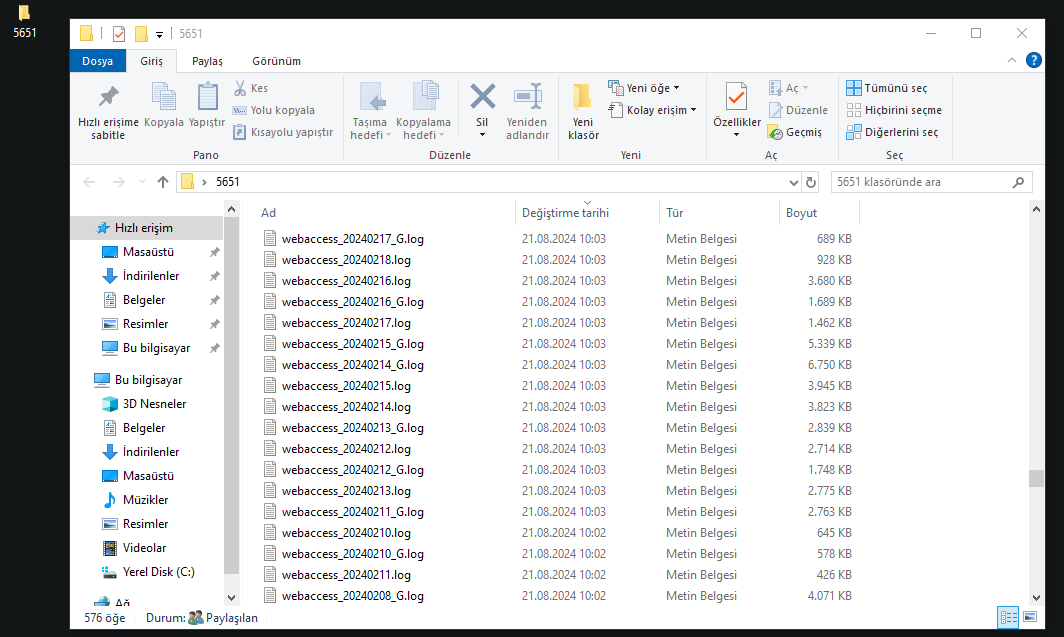
You can automatically transfer your logs to the PC you want at the time you specify.
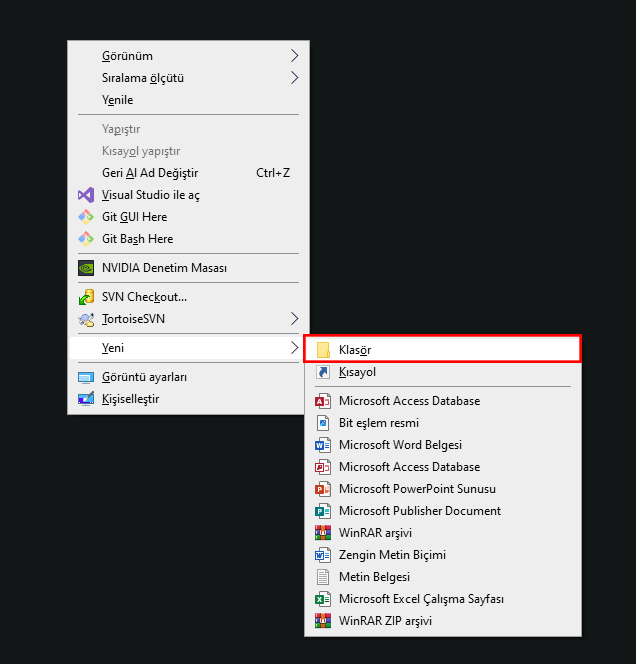
First of all, we create a new folder on our computer.
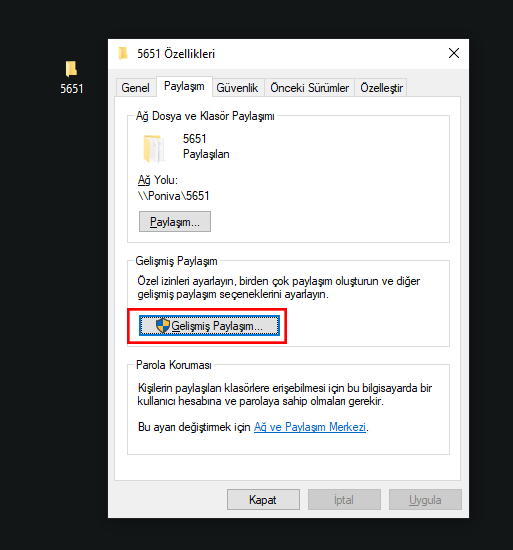
Right click on the folder we created and click Properties. On the screen that opens, click the Advanced Sharing button on the Sharing tab.
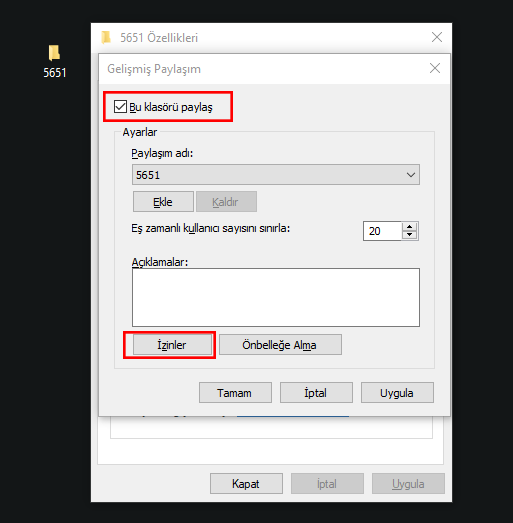
We activate the Share this folder option and click on the Permissions button.
We give the necessary permissions on the screen that opens.
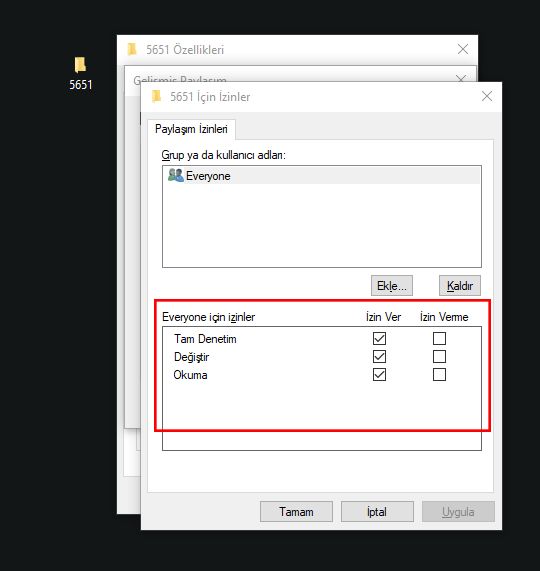
After clicked OK, click on the System Records->Log Transfer->Windows Transfer menu in the Poniva interface for other configurations.
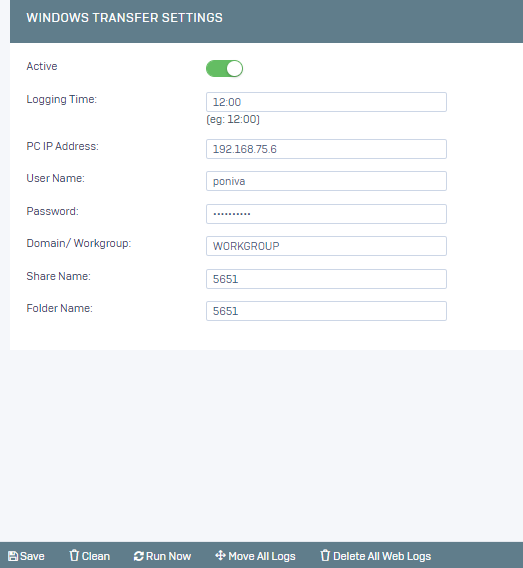
We activate the service,
Logging Time: The time when the records will be transferred,
PC IP Address: The IP address of the computer,
User Name: The user name of the computer,
Password: Password of the computer, if any,
Domain/Workgroup: We specify Domain or Workgroup,
Share Name: The name of the folder you created on your computer,
Folder Name: The name of the folder you created on your computer,
and then save it.
Your logs will be automatically transferred to your PC at the time you specify.
If you want, you can transfer your existing logs by clicking the Move All Logs button.