On the interface screen, click on the VPN->L2TP->Settings menu.
Service is activated on the screen that opens. The Start and End IP range should be in your local network, but you should make sure that it is not in your DHCP IP range.
User Policy (blocks the user for as many failed attempts as you specify), Phase-1/Phase-2 Encryption, Phase-1/Phase-2 Hash and Key (we will use the key information you create here when creating a VPN).
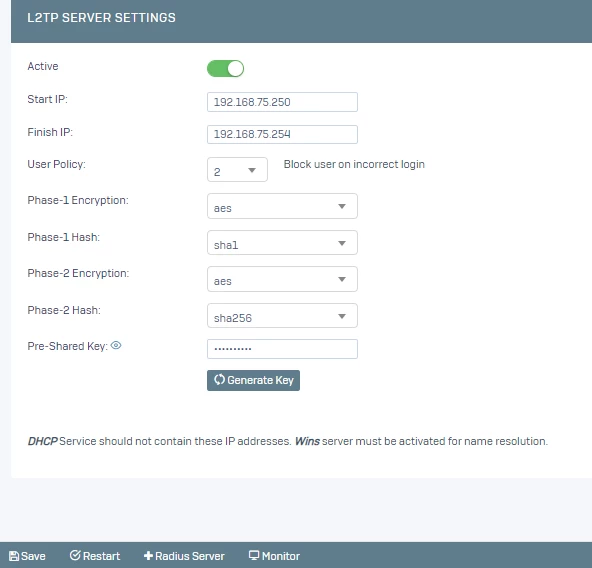
Note: The options used by Poniva in Phase 1 (and Phase 2) must be supported by Windows. If an option not supported by Windows 10 (or other Windows) L2TP/IPSec is selected, the VPN will not work.
After saying save, we need to define a user. For this, click on the VPN->L2TP->Users menu.
You can enable L2TP for your existing user or create a new user.
We create a new user by clicking on Add.
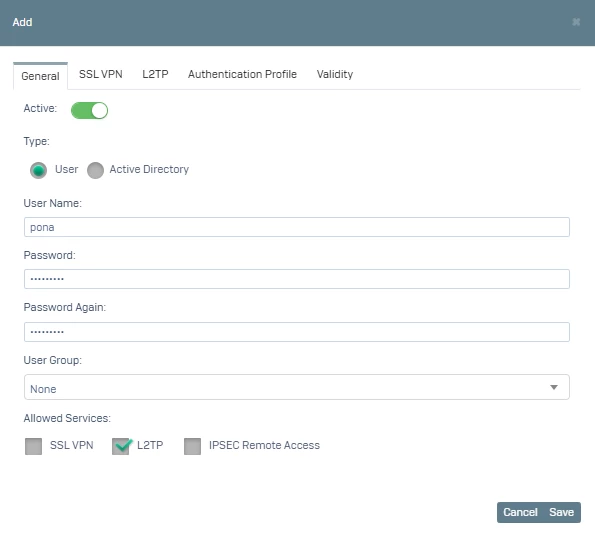
On the screen that opens, we activate the user, fill in the Username and Password fields. We check the L2TP option in the Allowed Services section.
Save and configure Windows VPN settings.
In Windows, click Start->Settings->Network and Internet->VPN->Add VPN Connection.
On the screen that opens, fill in the fields VPN provider, Connection name, Server name or address (Poniva Public IP address), VPN Type (Select L2TP/IPSec with pre-shared key), Type of login information (Select username and password), User/Password information (This is the username and password information we created in the Poniva interface).

Save and the VPN definition is created.
Click on the definition and select Connect.
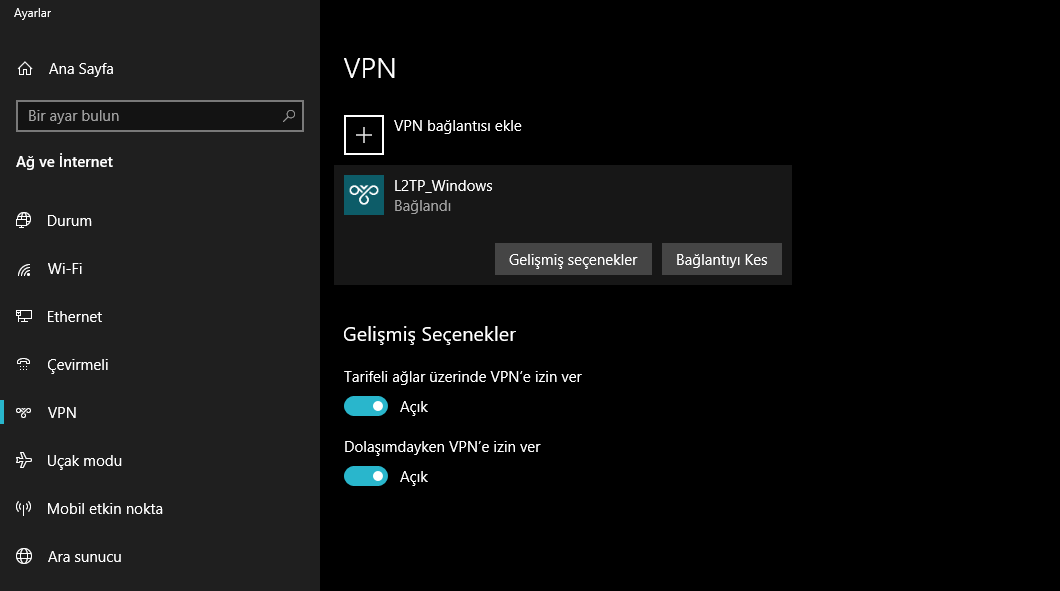
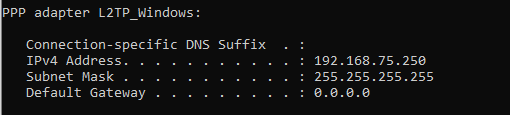
VPN is connected.