
By activating the MFA (Multi Factor Authenticate) feature for your VPN users, you can make password authentication more secure.
To add a new SSL VPN user, click on VPN->SSL VPN->Users or Users&Groups->Users menu on the Interface screen.
Let's start configuring our user's settings by clicking the Add User button.
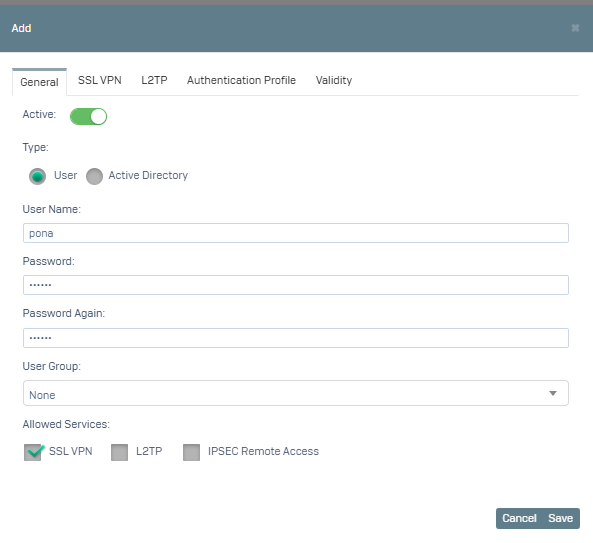
1- On the screen that opens, fill in the Active, Type, Username, Password fields in the general tab. If type Active Directory is selected, you only need to select the user. SSL VPN must be active in the Allowed Services section.
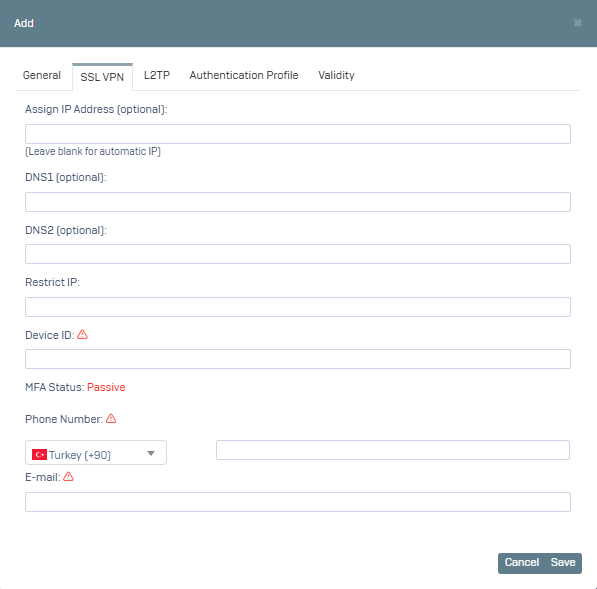
2- Switch to the SSL VPN tab, here you can assign your user's IP Address or define DNS. If you want your users to access from a specific IP Address, you can type the external IP information you want in the IP Restrict option. Or if you want to limit the device for your user, you can add MAC Address, UUID definition. The options here are optional.
The phone and Email options here are the authentication which you will verify for your user. For example, if you are verifying with sms, there should not be a Phone Number defined for your user. Or if you are going to do Email verification, you must define an Email address. We will use Google Authenticator in this process. You can also use Microsoft Authenticator.
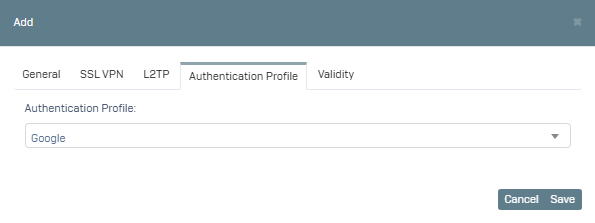
3- Switch to the Authentication tab, where you can select an authentication for your user or add a new authentication.
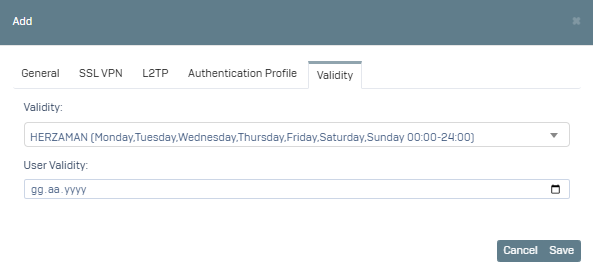
4- Go to the Validity tab, where you can limit the days and times your user can connect (the default is ALWAYS active) or set a validity period for your user.
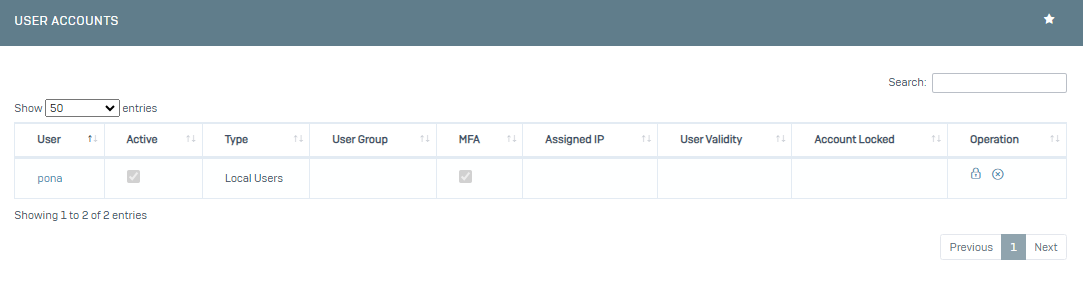
After saying save, click on the qr-code button in the action section on the screen.
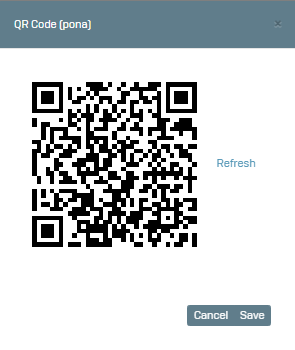
We open the Google/Microsoft Authenticator application that we previously downloaded to our phone and scan the qr-code.
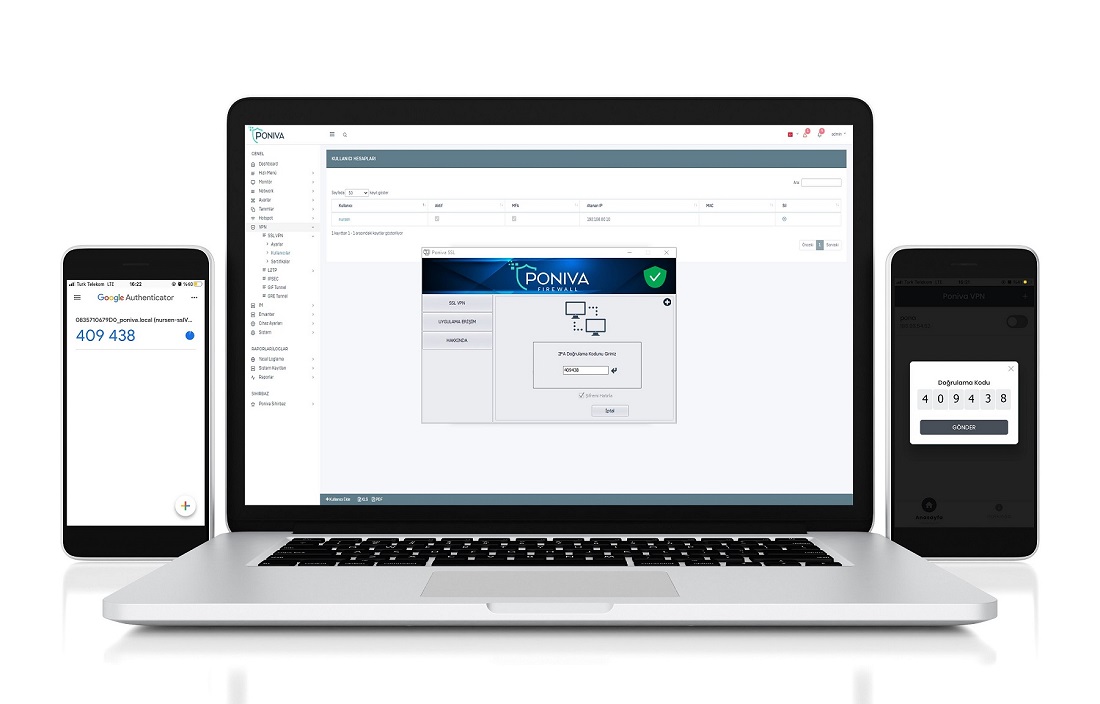
Now you can test your user.
NOTE: If your VPN is not working, check the DMZ and remember that you need a static IP for SSL VPN.