
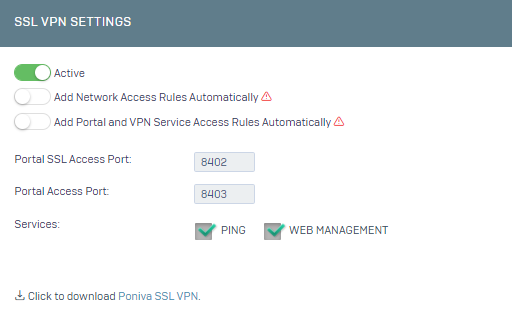
Click VPN->SSL VPN->Settings menu in the Poniva Firewall interface.
On the screen that opens, Poniva automatically creates rules when the Auto Add Network Access Rules and Auto Add Portal and VPN Service Access Rules options are active. You can create custom rules by disabling these options.
To create a rule, click on the Settings->Firewall Rules menu.
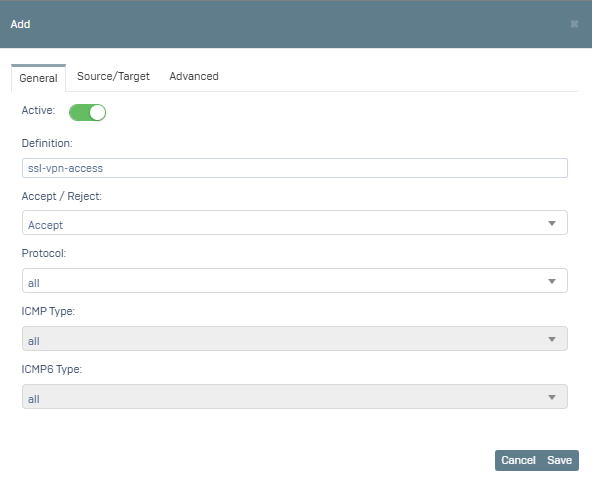
Let's click Add and start configuring our new rule.
1- On the screen that opens, fill in the Description, Accept/Reject, Protocol fields in the General tab. Here we set our rule as Accept for certain IPs to access our local area from SSL VPN network. We select Protocol all.
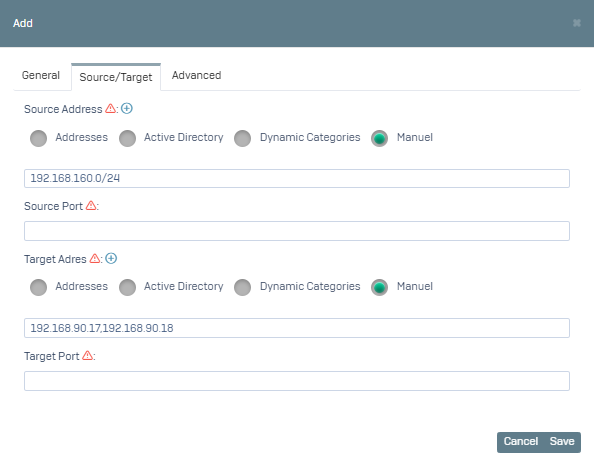
2- Switch to the Source/Destination tab, here the Source Address field is the field where we specify from which address the request will be sent. We write our SSL VPN Local network as the Source Address. The Destination Address field is the field where we specify to which address the request is sent. As Destination Address, we write the IP addresses of the machines to be accessed in our local network. We leave the source / destination port fields blank.
After clicked Save, we create the Red rule.
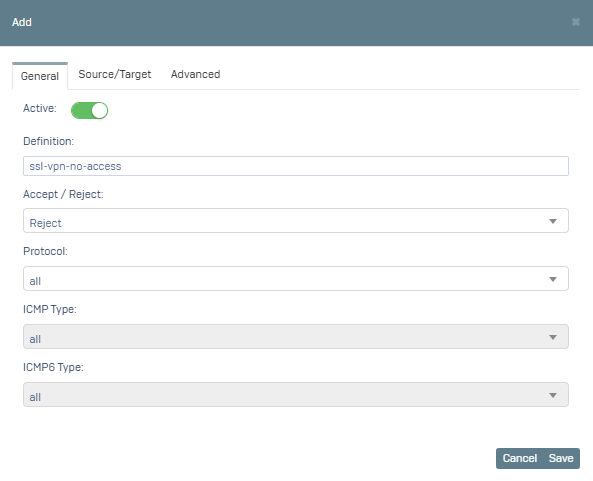
1- On the screen that opens, fill in the Description, Accept/Reject, Protocol fields in the General tab. Here, we set our rule as Reject because we will block access to our local from SSL VPN network. We want to block all protocols by selecting Protocol all, but you can also block specific protocols.
2- Switch to the Source/Destination tab, here the Source Address field is the field where we specify from which address the request will be sent. We write the network of our SSL VPN network as the Source Address. The Destination Address field is the field where we specify to which address the request is sent. We write our local network as the destination address. We leave the Source/Destination port fields blank.
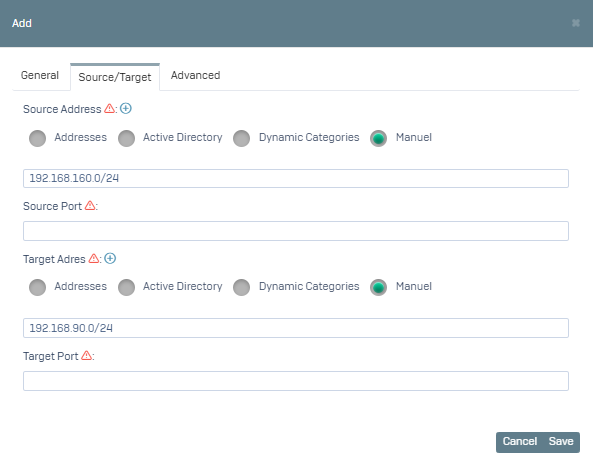
Save.
Note: Here the Access Accept rule must be above the Access Forbidden rule.