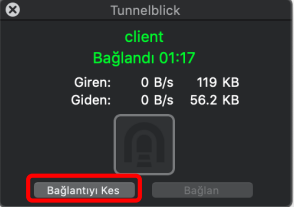
This assumes that the SSL VPN service is active on the Poniva interface.
1- We go to https://tunnelblick.net/downloads.html and download the stable installation file to our computer.
2- We start the installation by double clicking on the installation file we have downloaded. Double click on the Tunnelblick icon on the screen that opens.
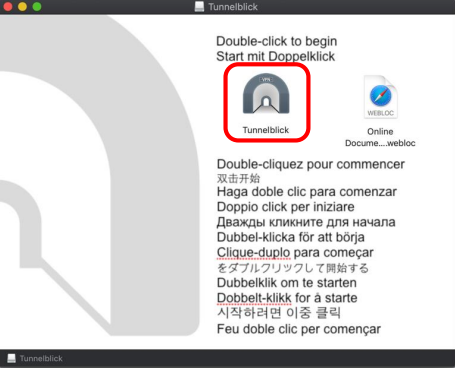
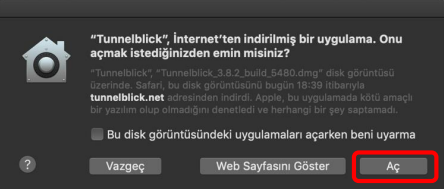
3- In the window that appears, click on the Open button.
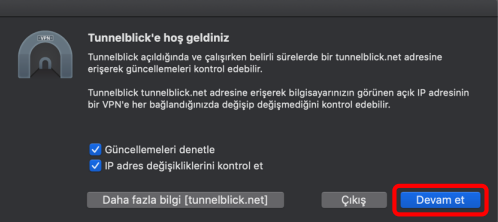
4- Click on the Continue button.
5- On the Poniva Firewall Interface screen, go to the VPN->SSL VPN->Settings menu. Here we click on the Download Configuration button at the bottom and extract our client certificate from the zip.
6- Continue with the installation, in the pop-up window click on I have Configuration Files.
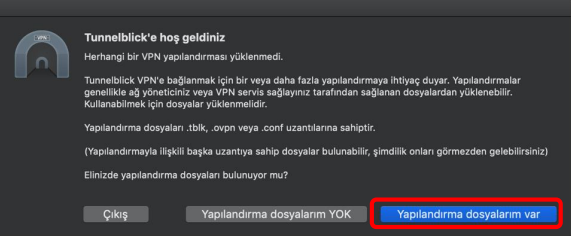
7- To load the configuration file here, drag the client.ovpn file we downloaded to our computer onto the Tunnelblick icon in the menu bar at the top of the computer screen, or right-click on the icon and click on the VPN Details tab in the section that opens.
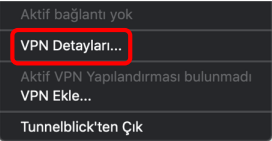
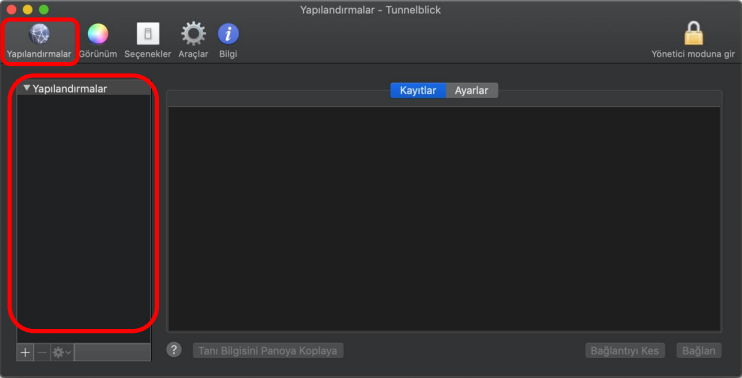
In the window that opens, you can drag and drop it to the Configurations section.
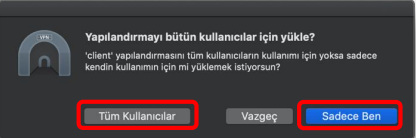
8- After dragging and dropping the configuration file, click on either the All users or Just Me button in the window that opens.
9- A window will appear showing that the configuration file has been successfully uploaded. Click on the Connect button in this window.
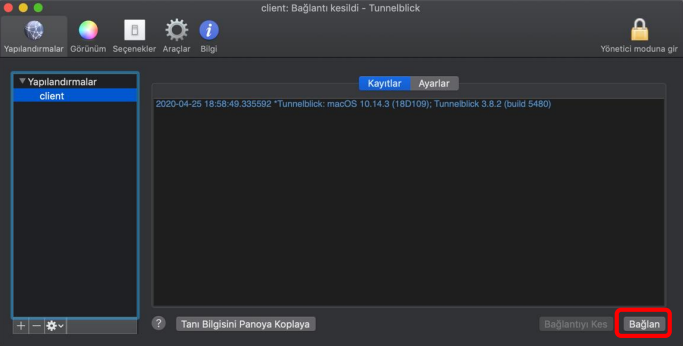
10- In the window that opens, enter the user information you previously created in the Poniva interface in the Username, Password fields and click the Connect button.
11- You will see windows indicating that your connection was successful.