You can implement DNS Firewall to control users' access to web resources. You can customize the default profile or create your own profile.
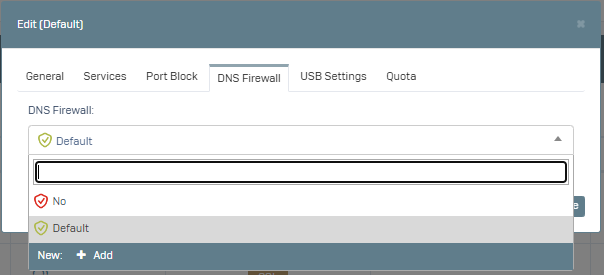
By integrating the profile you create into group management, you can restrict or direct users' access to certain categories or domains.
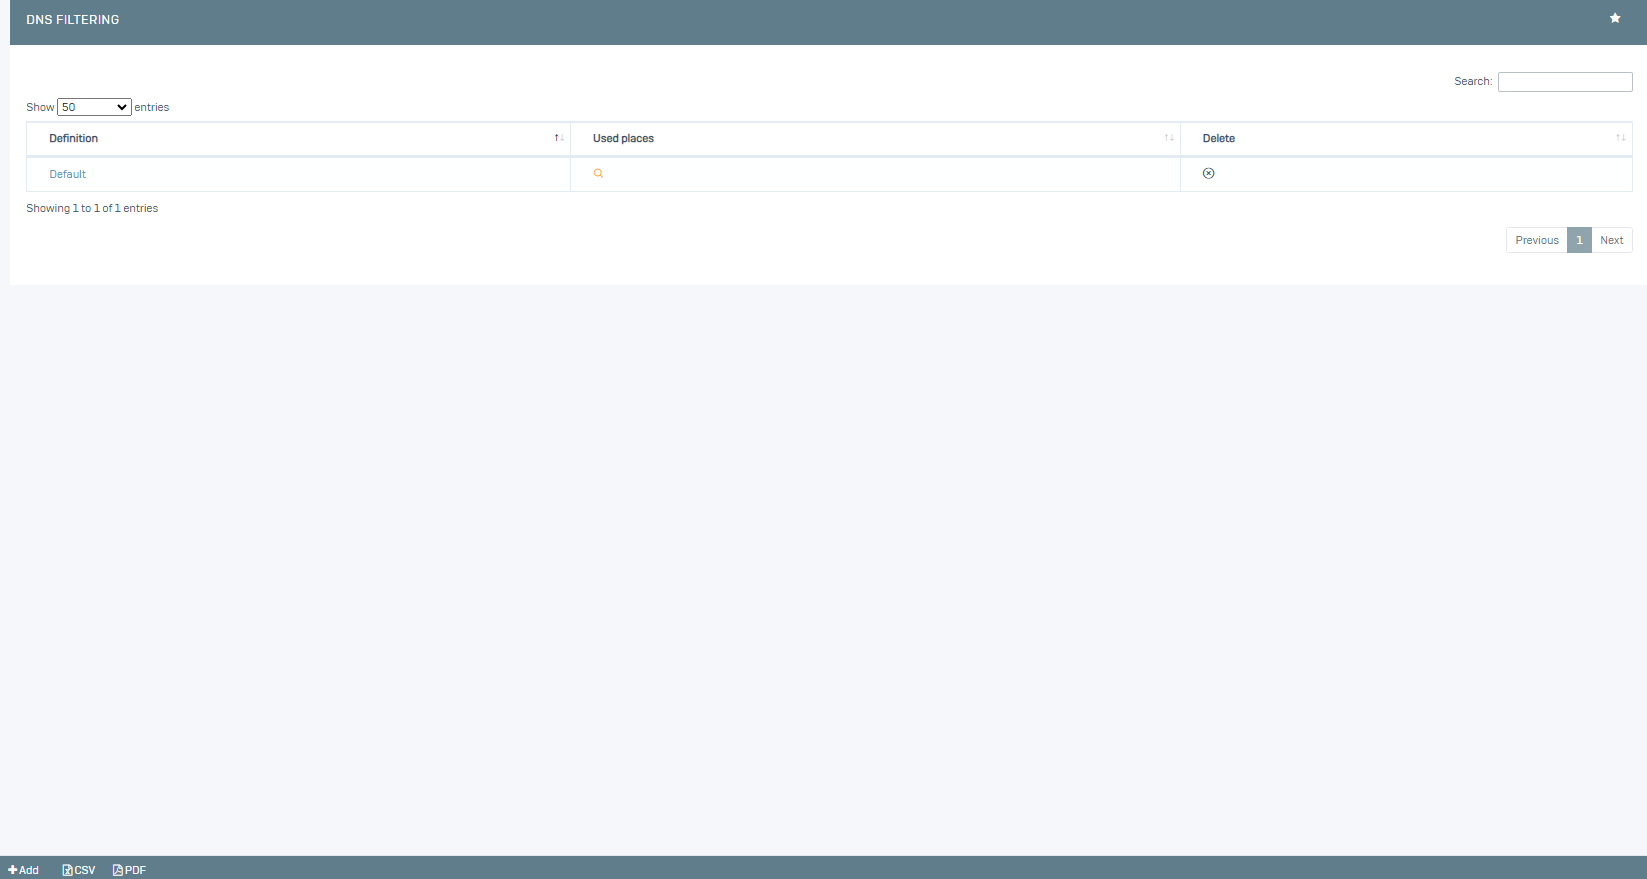
On the interface screen, click on the Settings->DNS Firewall menu.
Here we will work for the Default group, you can create a new profile by clicking Add.
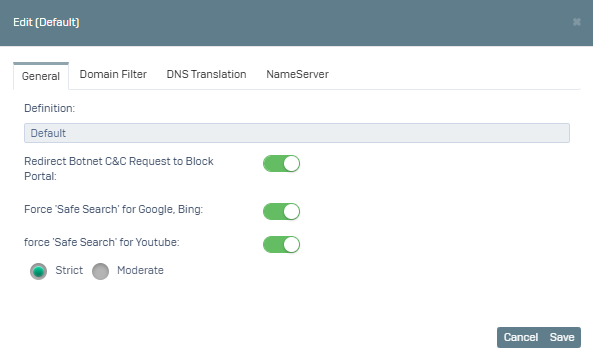
1- On the screen that opens, the fields in the General tab are activated according to your preference.
Redirect Botnet C&C Request to Block Portal: When this option is enabled, requests to botnet Command & Control (C&C) servers are blocked and redirected to the block portal. Botnet C&C servers are servers where malware is managed.
Force Safe Search for Google, Bing: When this option is enabled, safe search on Google and Bing becomes mandatory. This ensures that inappropriate content is filtered from search results.
Force Safe Search for YouTube: When this option is enabled, safe search on YouTube becomes mandatory. (Strict: provides the highest level of filtering, Moderate: provides a more flexible filtering)
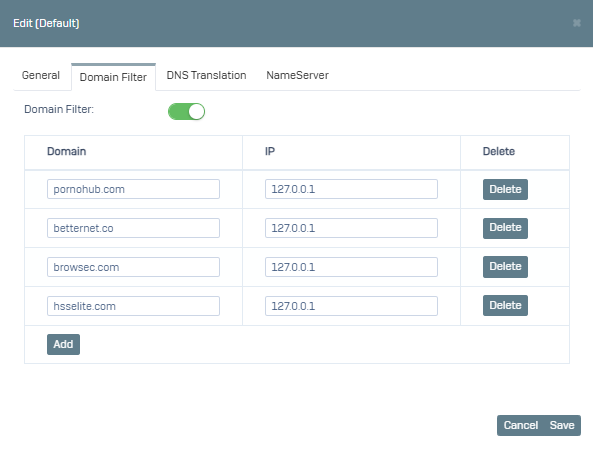
2- Switch to the Domain Filtering tab, where you can block access to certain domains.
Domain: Shows the domain name of the website to be blocked.
IP: Shows the IP address to be forwarded for the blocked domain. For example, browsec.com is set to “127.0.0.1”. This is the localhost (local machine) address and means that the blocked domain will be redirected to this address.
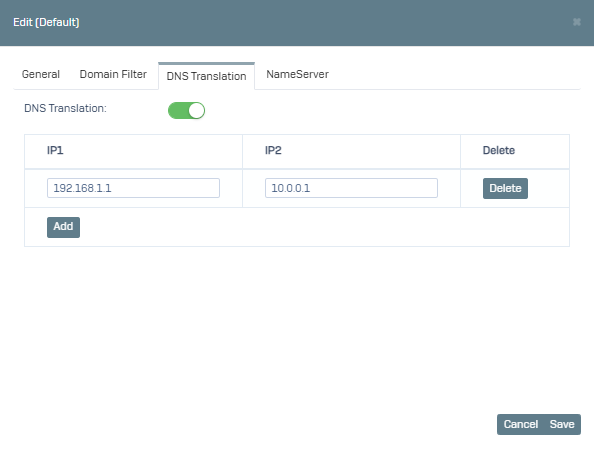
3- Switch to the DNS Translation tab, where you can redirect DNS requests to specific IP addresses.
IP1, IP2: IP1 is the IP address defined for the incoming DNS request; IP2 is the IP address that should be forwarded.
After you have clicked on Save, you can define the corresponding definition for your existing groups by going to Settings->Group Management.