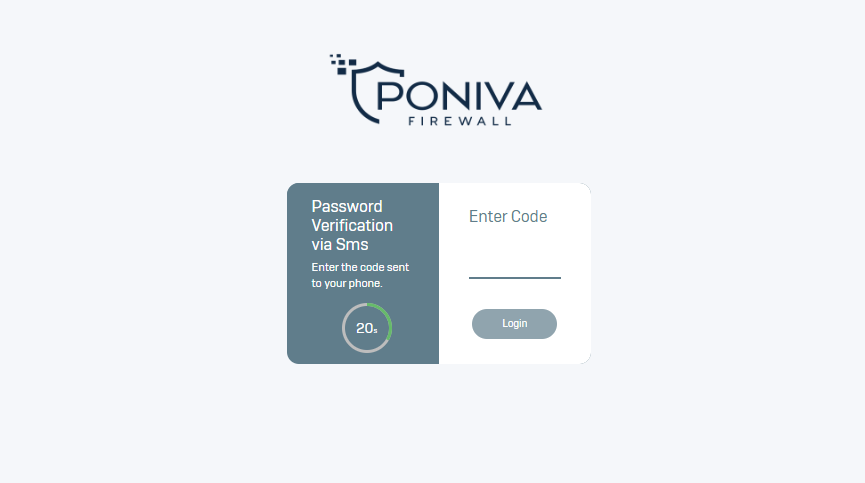
Multi-factor authentication (MFA) is a measure that enhances security by requiring users to use more than one authentication method to gain access to an application, account or virtual private network (VPN). This provides an additional layer of security against the risk of credentials being stolen, compromised or used by malicious actors.
To define MFA, click on Device Settings->MFA Profile menu on the interface.
On the screen that opens, MFA Profile, Google/Microsoft Authentication (QR Code) is available as Default option.
Click on Add to add a new MFA profile.
We enter Description on the screen that opens. You can select SMS or Email as the producer. When you select SMS as the producer, we select our sms provider in the Type field (Undefined, Verimor, Teknomart, Mail Pigeon, NetGsm, JetSms). If you select None, you need to enter API Address, User and Password information. In other options, you do not need to enter API Address. The Title field may be mandatory for some Sms providers.
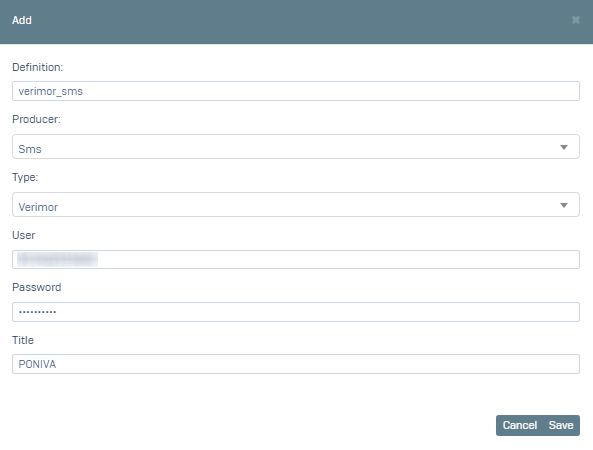
Clicked Save.
Let's see how to activate the MFA profile we created here for Web logins (for Admin Users) or for your SSL VPN users.
For example, let's activate the MFA feature on Web logins.
What we need to pay attention to here is that we need to include the MFA Profile we have created in an Authentication Profile.
Click on the Device Settings->Authentication Profile menu in the interface.
Click on the Add option.
On the screen that opens, we fill in the fields Profile Name, User Failed Attempt (We specify how many failed attempts will be blocked), User Lockout Time (We specify how many minutes the user will be blocked after the specified number of failed attempts). We activate the MFA option. We click on the MFA Manufacturer field and select the MFA profile we created.
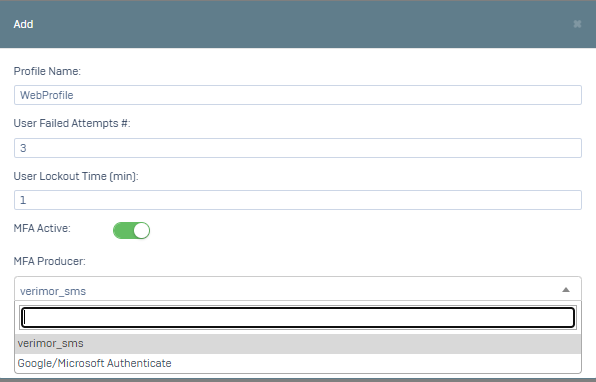
Clicked Save.
In the interface, click on the Device Settings->Administrators menu.
Click on the defined test user on the screen that opens. (you can define for your different users)
In the General tab, we fill in the Phone field because we selected SMS as the MFA producer. If you select Email as the MFA producer, you must fill in the Email field.
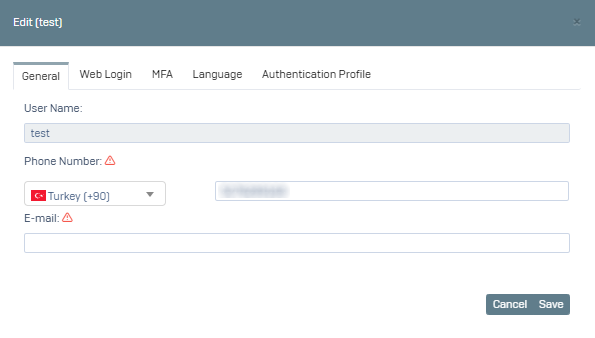
We go to the Authentication Profile tab and select the Authentication Profile we created here. (You can also create a new Authentication Profile here).
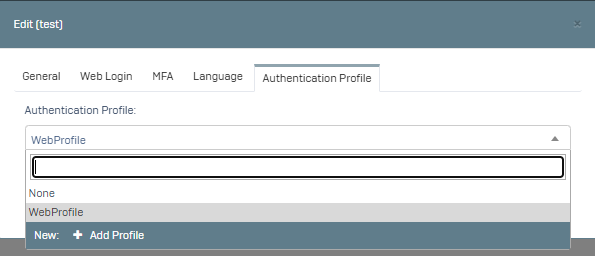
You can test it after clicked Save.